
If you
already know how to make Medhu
Vadas and to
make them perfectly, pls. don’t kill me!!! 'cause even though I get the taste and texture right, I can never
get the shape right…never…so I don’t even bother trying anymore…I got that doughnut shape
right, just once, using a poly sheet but it took way tooooo long and patience
is one of those things that I don’t deal in…so I am
willing to call them Dal Pakoras if it bothers you or Medu Vadas, the lazy
bones version...but honestly the shape doesn't matter...the taste
does...and hence am posting this…and
remember the original aim of “the blog”
was for me to record what I make and not to show off ;-) …If you
are one of those who doesn't know
what these are or haven’t ever made these at home before...go ahead
and try them…halve the quantities if you have to...but do try…there are a few
tips at the bottom...gathered from everywhere and experience cause I messed up a few
times initially and now thanks to these I don’t...the vadas
turn out crispy on the outside and soft & fluffy on the inside…perfect
every single time


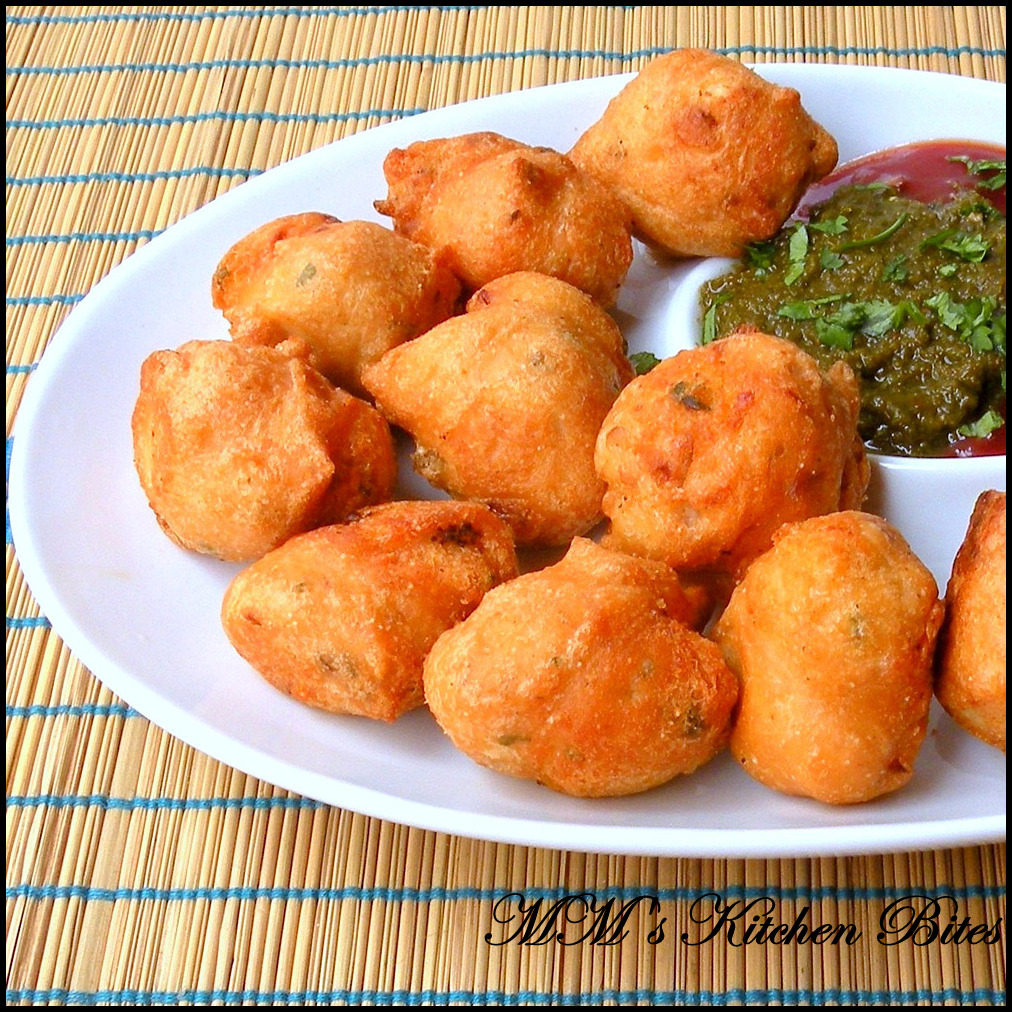
Medhu Vada/ Urad dal Vada (Black Gram lentil fritters)
Ingredients:
- Dhuli Urad
dal/Skinless split black lentils, 1 cup
- Ginger, 1” piece
- Green chilies,
2-3
- Semolina, 1 tbsp
- Hing/Asafoetida,
2 big fat pinches
- Cumin seeds,1
tsp
- Black
peppercorns, crushed, 10-12
- Onions, finely
chopped, 1 large
- Fresh Coriander
leaves, finely chopped, 2-3 tbsp
- Curry leaves,
finely chopped, 2-3 tbsp
- Salt, to taste
- Oil, for deep
frying
Instructions:
Wash the
Urad Dal till water runs clear. Soak overnight in 4-5 cups of water – overnight
would be perfect, if not then at least for 6 hours. (Any less, and you give up
your right to blame me!!)
Drain the
dal and keep aside.
In the
mixer/grinder, first add the green chilies and chopped ginger. Pulse a couple
of time. Now add the dal – about quarter cup at a time. Avoid adding water
while grinding, but if the mixer/ grinder jams, add as little water as
possible. Remember to wipe off and mix back the dal
that sticks to the walls. Stop once you get a smooth thick batter.
Empty out
the batter into a container. Add semolina, salt, cumin, crushed peppercorns.
Mix the batter well.
Now comes the fun part – you have to beat/whisk the batter
to aerate it.
Use your hands, a spoon or a whisk to do the same. But before
that, fill a small bowl with water and drop a pinch of batter in the same. If
the batter is right, it will float on top of the water. If it sinks or is kind of 'hanging' in the middle, it is time to start whisking.
Do that ‘float’ test again after some time and stop whisking when
it floats.
You will also notice that the batter has become whiter. Do a taste
check of the salt and add onions, coriander, curry leaves and more salt if
needed. Mix well and keep aside.
Heat oil
in a kadhai for deep frying the vadas. Be generous with the amount of oil you
put in so that the vadas don’t stick to the pan.
Oil needs
to get medium hot – which means when you drop in the batter in the oil, it should
quickly rises to top with slight bubbles. If it browns too quickly, the oil is
too hot and vadas will burn from outside and remain uncooked from inside. These
need to be gently fried to a light golden colour. If the batter sinks, oil is
not hot enough.
Time to
fry – ideally need to use your hand but if hot oil scares you, you can use a
spoon.
If like
me, you can’t make those doughnut holes, ensure you take small dollops of the
batter so that the inside gets the chance to completely cook by the time the
outside gets to the right colour.
Wet your
hand/spoon, take a small dollop of the batter and gently slide it in the hot
oil. Remember – don’t worry about the shape, just ensure they are not too big. Don’t
fry more than 4-5 at a time.
Turn them
around a couple of times so that they are evenly golden on all sides. Once
done, take them out with a slotted spoon and drain on
a kitchen towel.
Repeat
with rest of the batter and remember to test the oil temperature before every
batch and also to wet your hands so that the batter slides off easily.
Serve hot
or warm with any chutney of your choice.
If
serving later, turn your oven to warm (the lowest temperature) and keep the
vadas inside the oven till serving time.
I didn’t get a chance to click the picture of the inside, next time I
guess.
Any
additional tips, pls. do share….
Notes:
- They say that making this with whole skinless urad dal is better but since I make these only occasionally and never have that dal at home, I use split skinless urad dal.
- Grinding for too long makes the batter sticky, so keep an eye on it while grinding and stop once all the dal is done.
- Also, ensure that the batter doesn’t get hot while grinding – if it does, vadas will become hard. Keep an eye on it and also pulse a few times initially.
- I like adding semolina as it helps with the crispness and the vadas also remain crisp for longer.
- The more water you add while grinding, the more oil the vadas will soak while deep frying.
- Semolina also helps if the batter has become watery.
- And remember –shape doesn’t matter. Just keep a check on the oil temperature and size.
- Try and make the vadas right after grinding the batter so that they turn out soft.
- And as always, pictures of the dal so that you know what I am talking about.

Thank you for the pics of the lentils is much simpler! These look and sound delicious!
ReplyDelete